Introduction
3 Tips for Better Product Photography
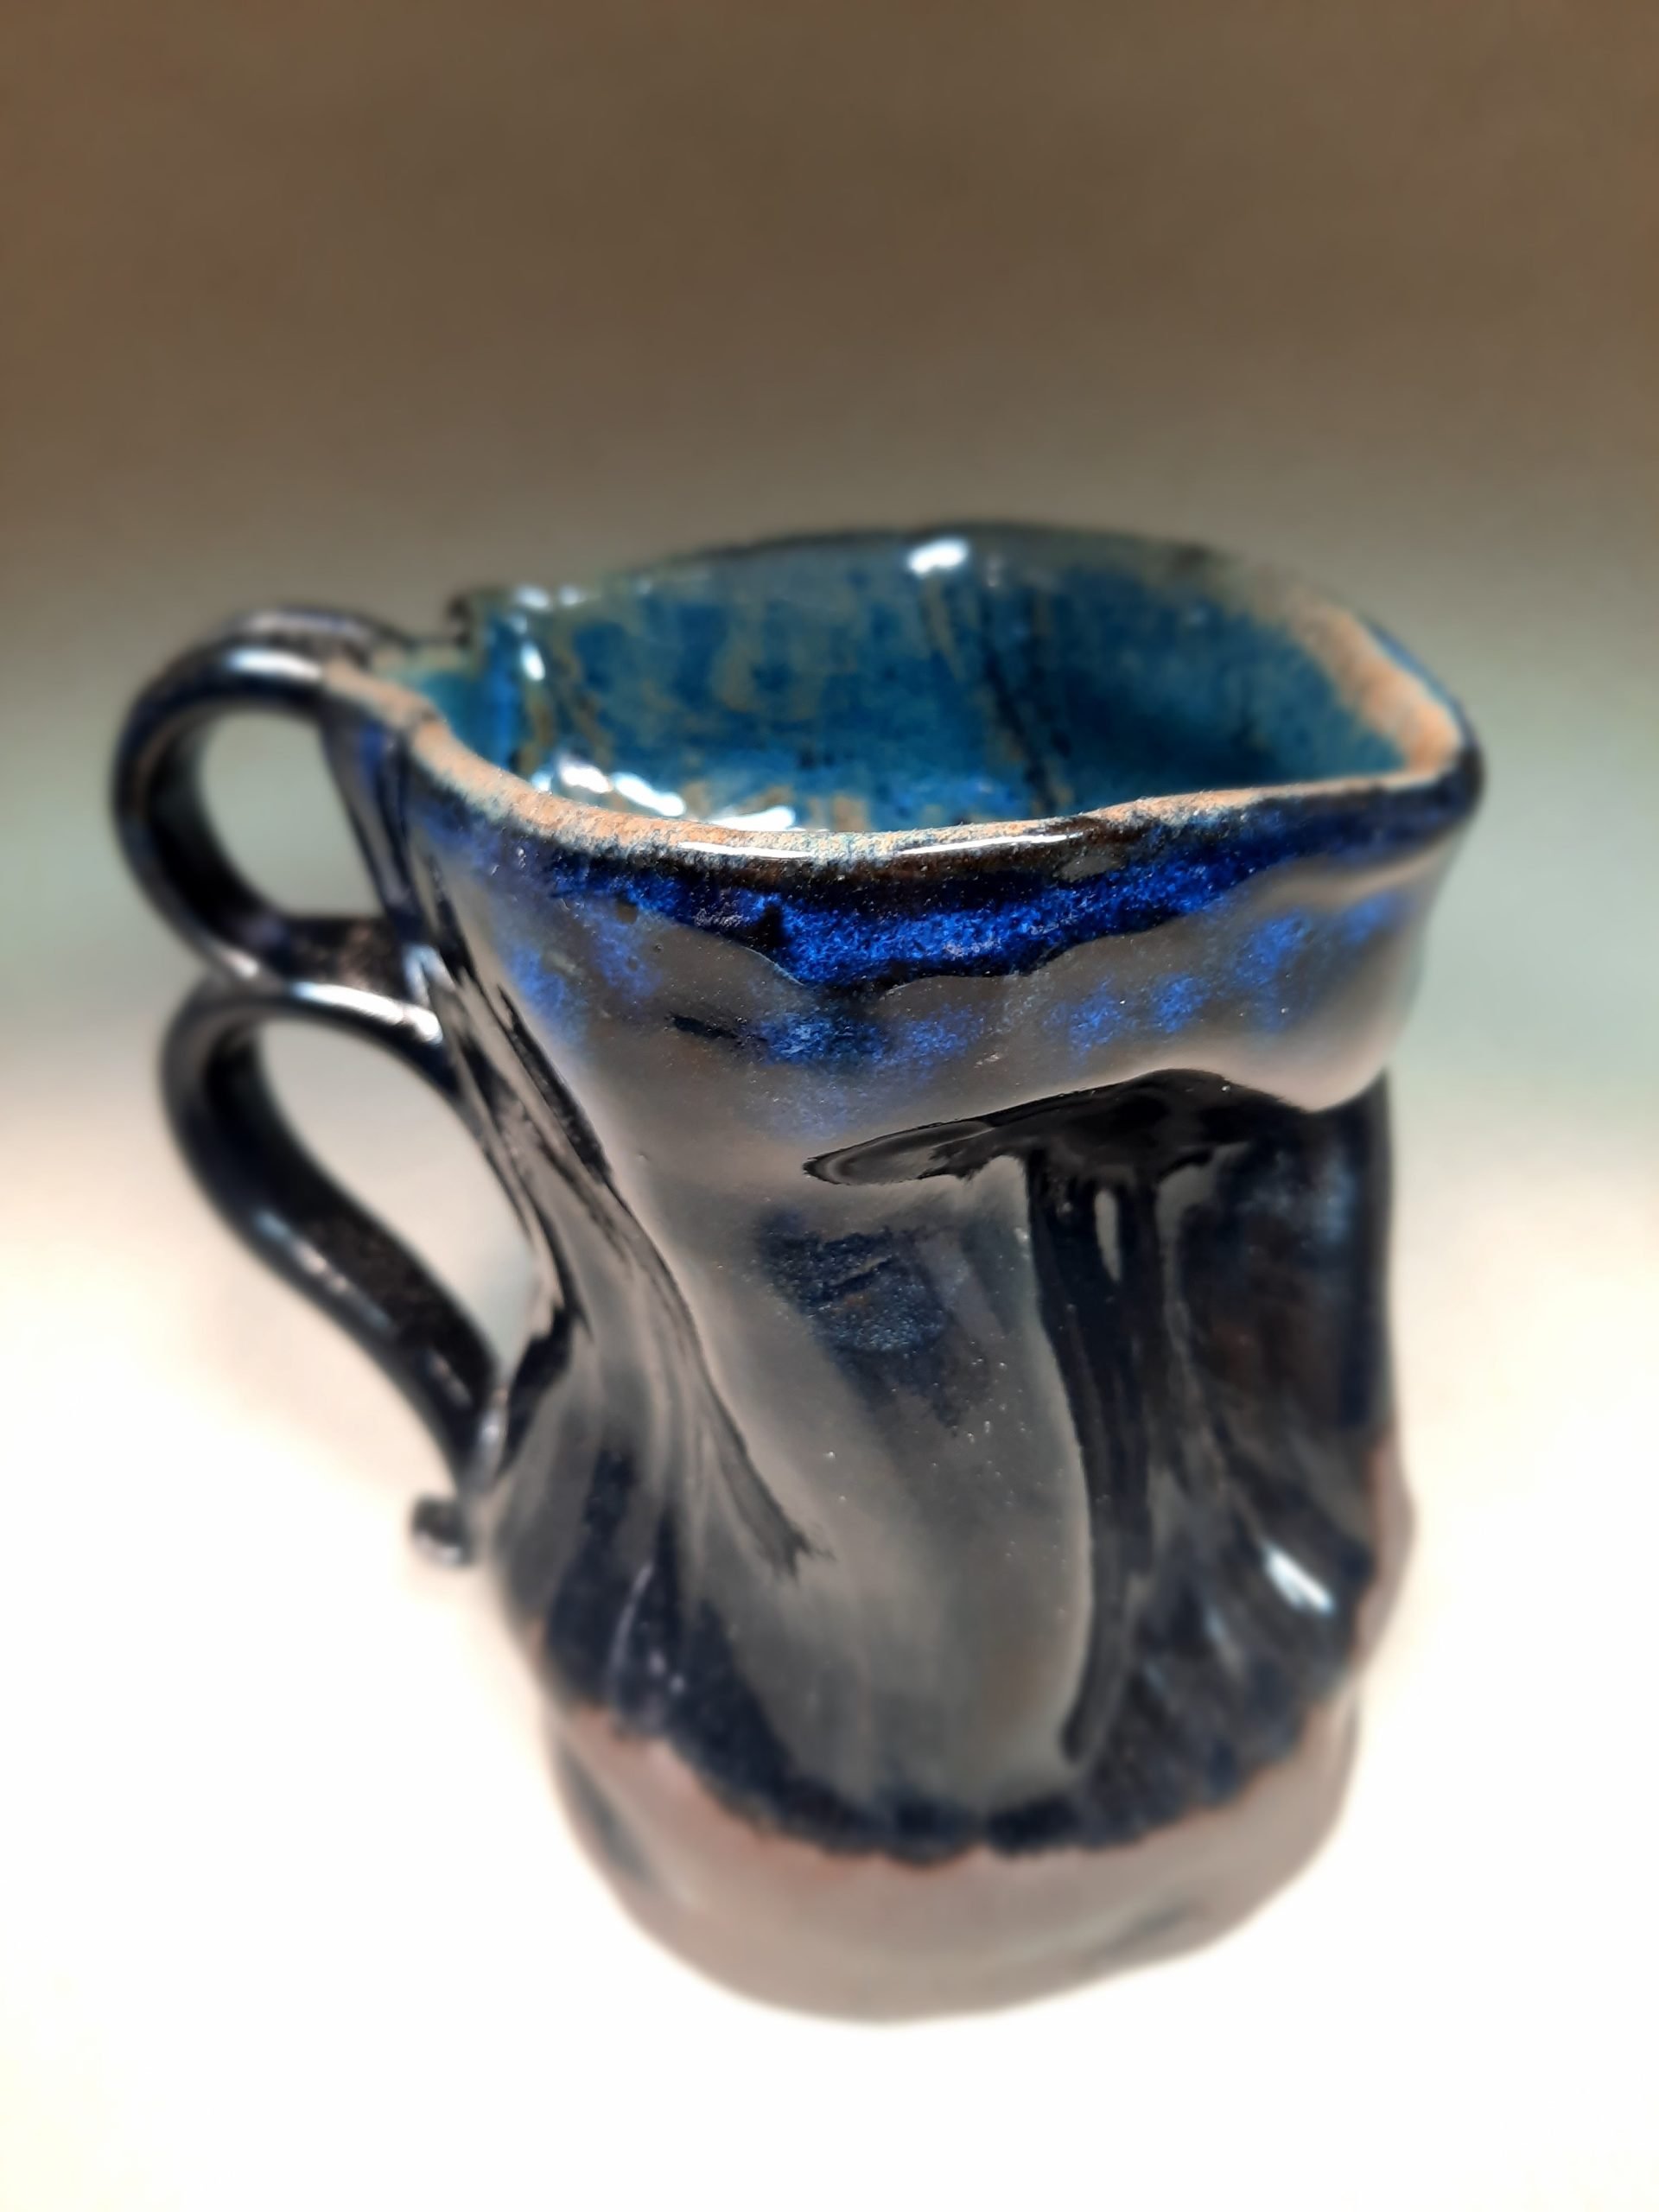
With easy ways to sell online, more and more sellers are turning to photography to learn how to take better photographs of their products. This is a great idea for any seller as commissioned photography can be expensive and time-consuming –especially when new products are constantly being introduced. Here are three great tips to help your product photos stand out from the rest.
Story
1. Find the Right Light
Product photography depends on flattering light to represent the product’s shape, form and texture. Typically, the best solution for most products is soft, diffused light. My favorite type of light is window light because we can choose whether or not we have shadows based on our angle to the light. When shooting with window light, it is important to shoot at the right time of day where the light is soft and full sun is not streaming in. For example, if you have an East-facing window, afternoons would be best since morning sun would be too strong. Don’t have time to wait until the right time of day? Don’t worry. You can still achieve the right light look by taping up a sheer piece of fabric to soften the harsh light. (Get creative! Even parchment paper works!)
Once you have the right soft light, you can play around with the following types of window light:
Side-Lighting, (window directly to the side of the product)
Front Lighting (window directly in front of the product)
Back Lighting (window is behind the product).

Changing positions in relation to the window will affect where shadows are formed and will then influence how the product’s shape appears. Try photographing your product in all three types of light to find the best approach for your product.
2. Style to Complement.
How you style your product can greatly enhance or (whoopsie) detract from your product. Consider your subject’s shape, color and size and choose props, backgrounds and environments that complement. Easy pitfalls to avoid: intense patterns, clashing colors, nonsensical props.

3. Crop Clearly
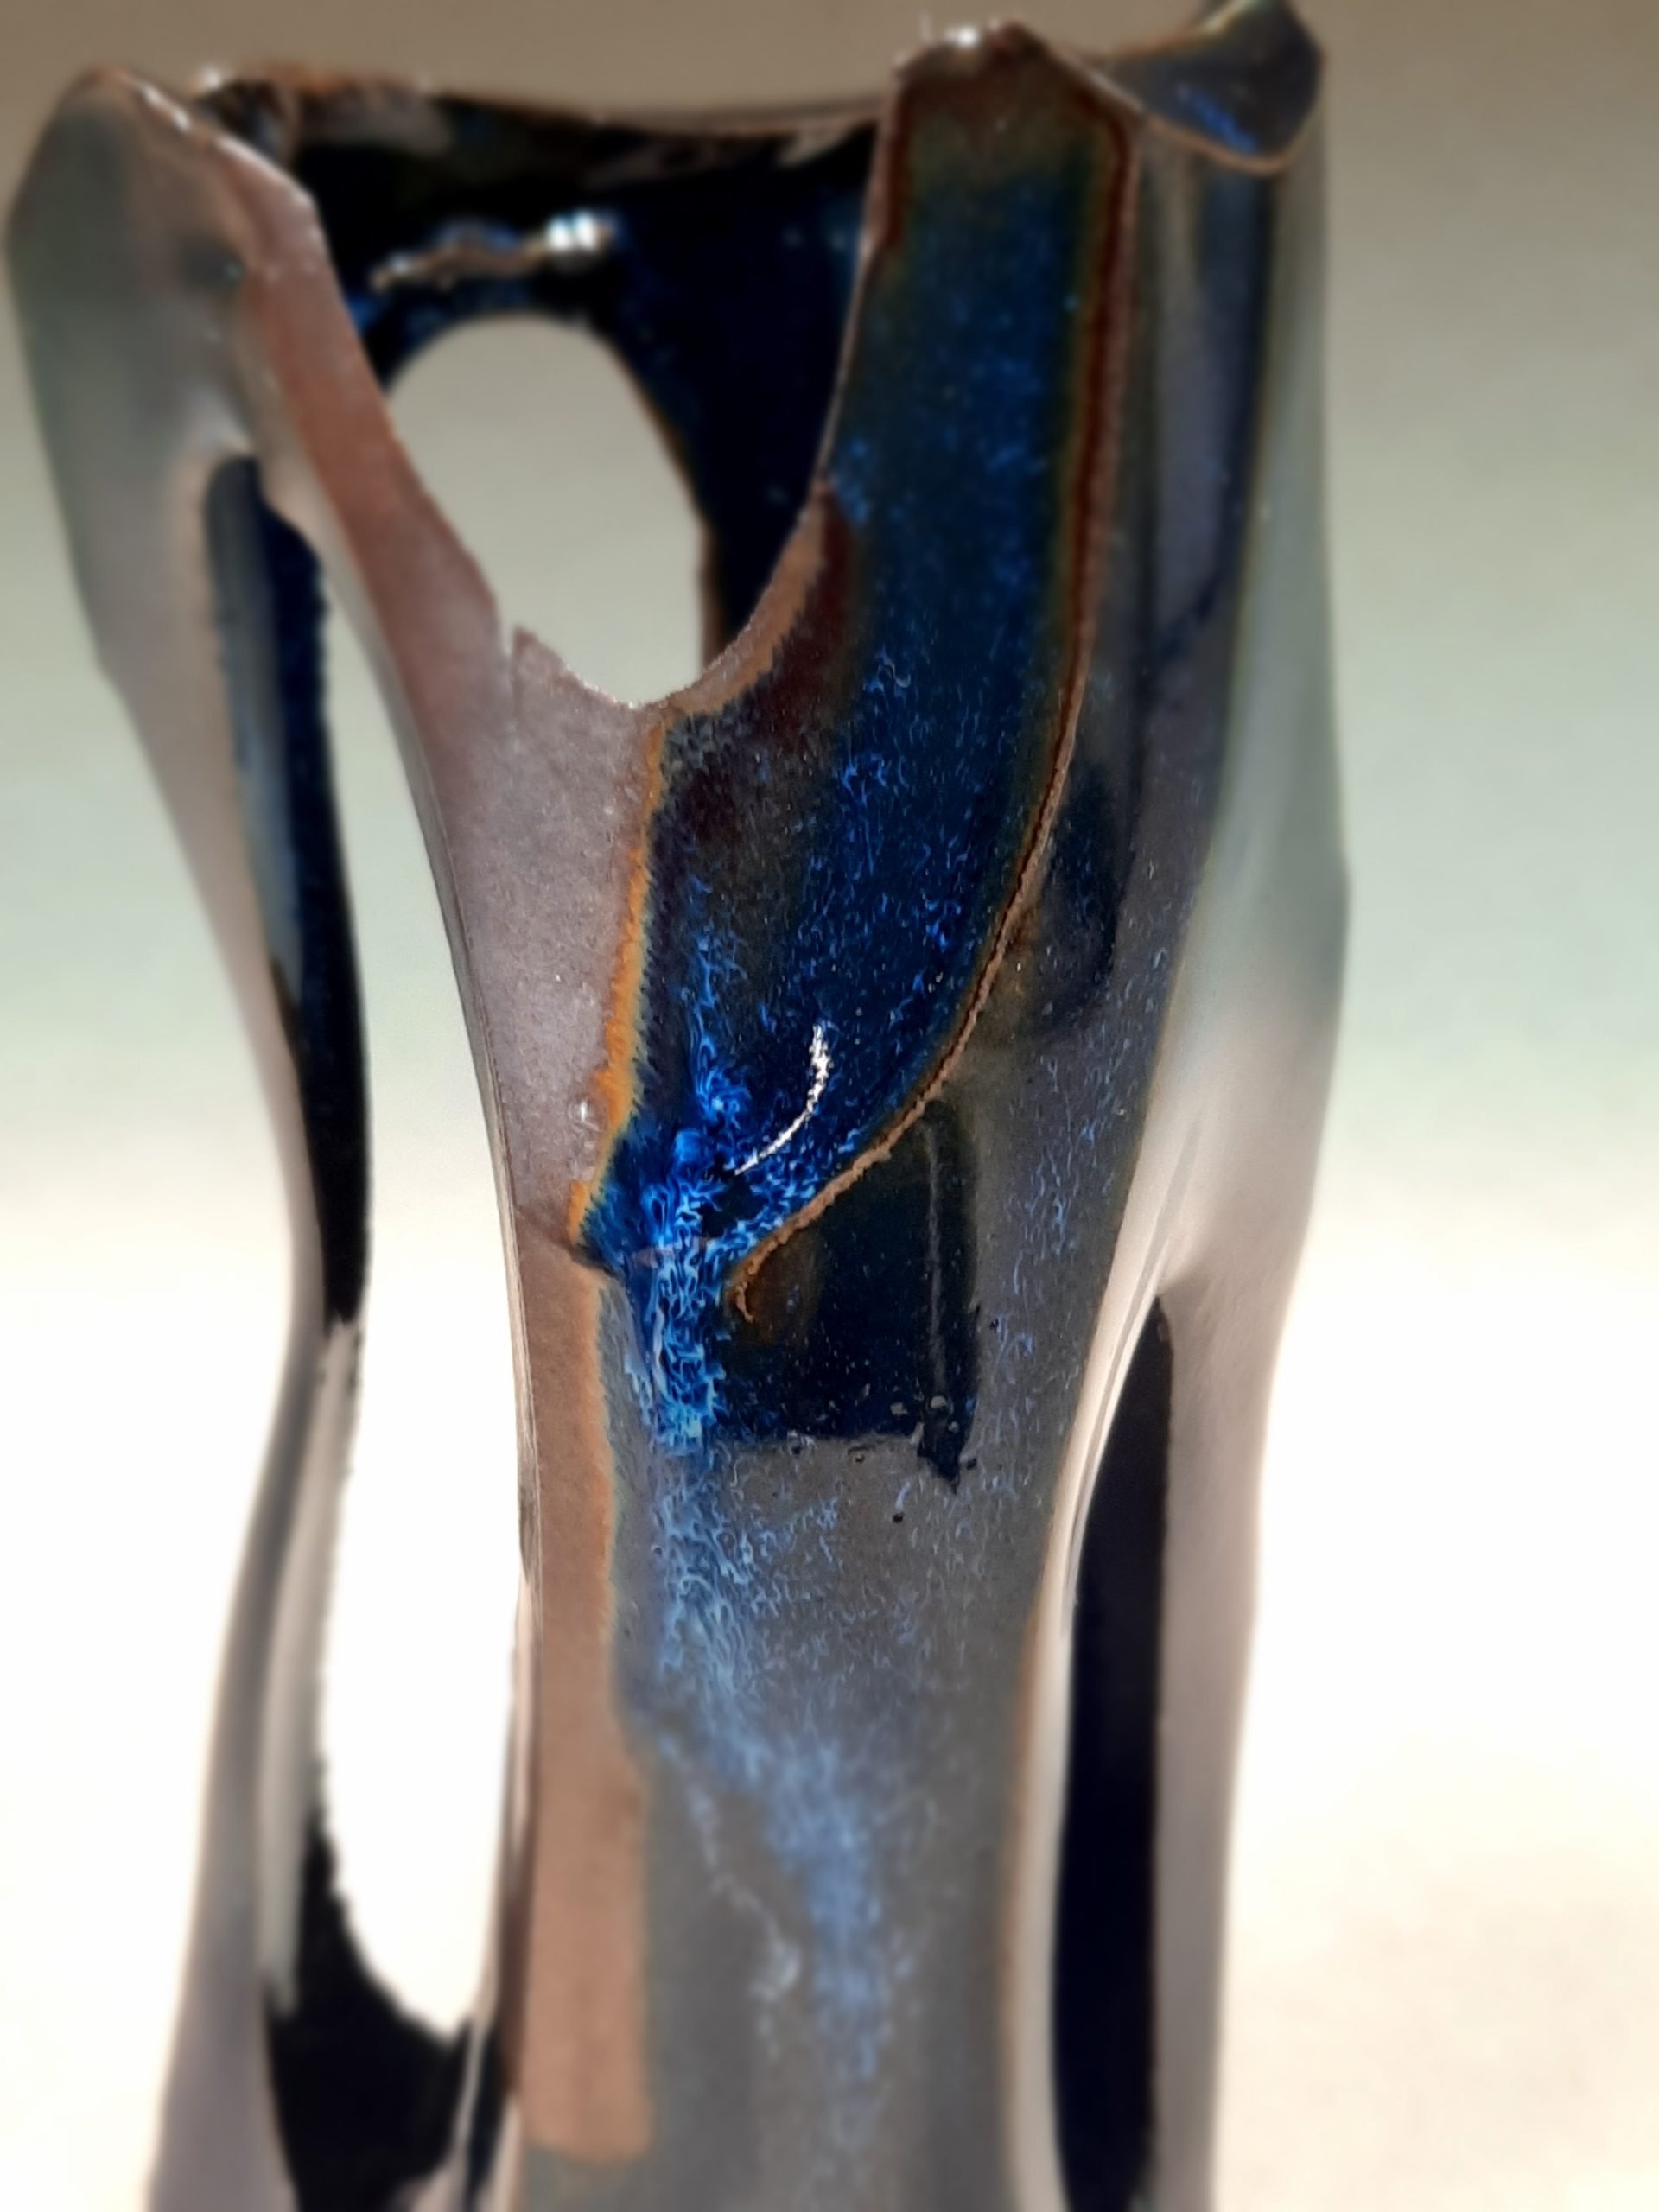
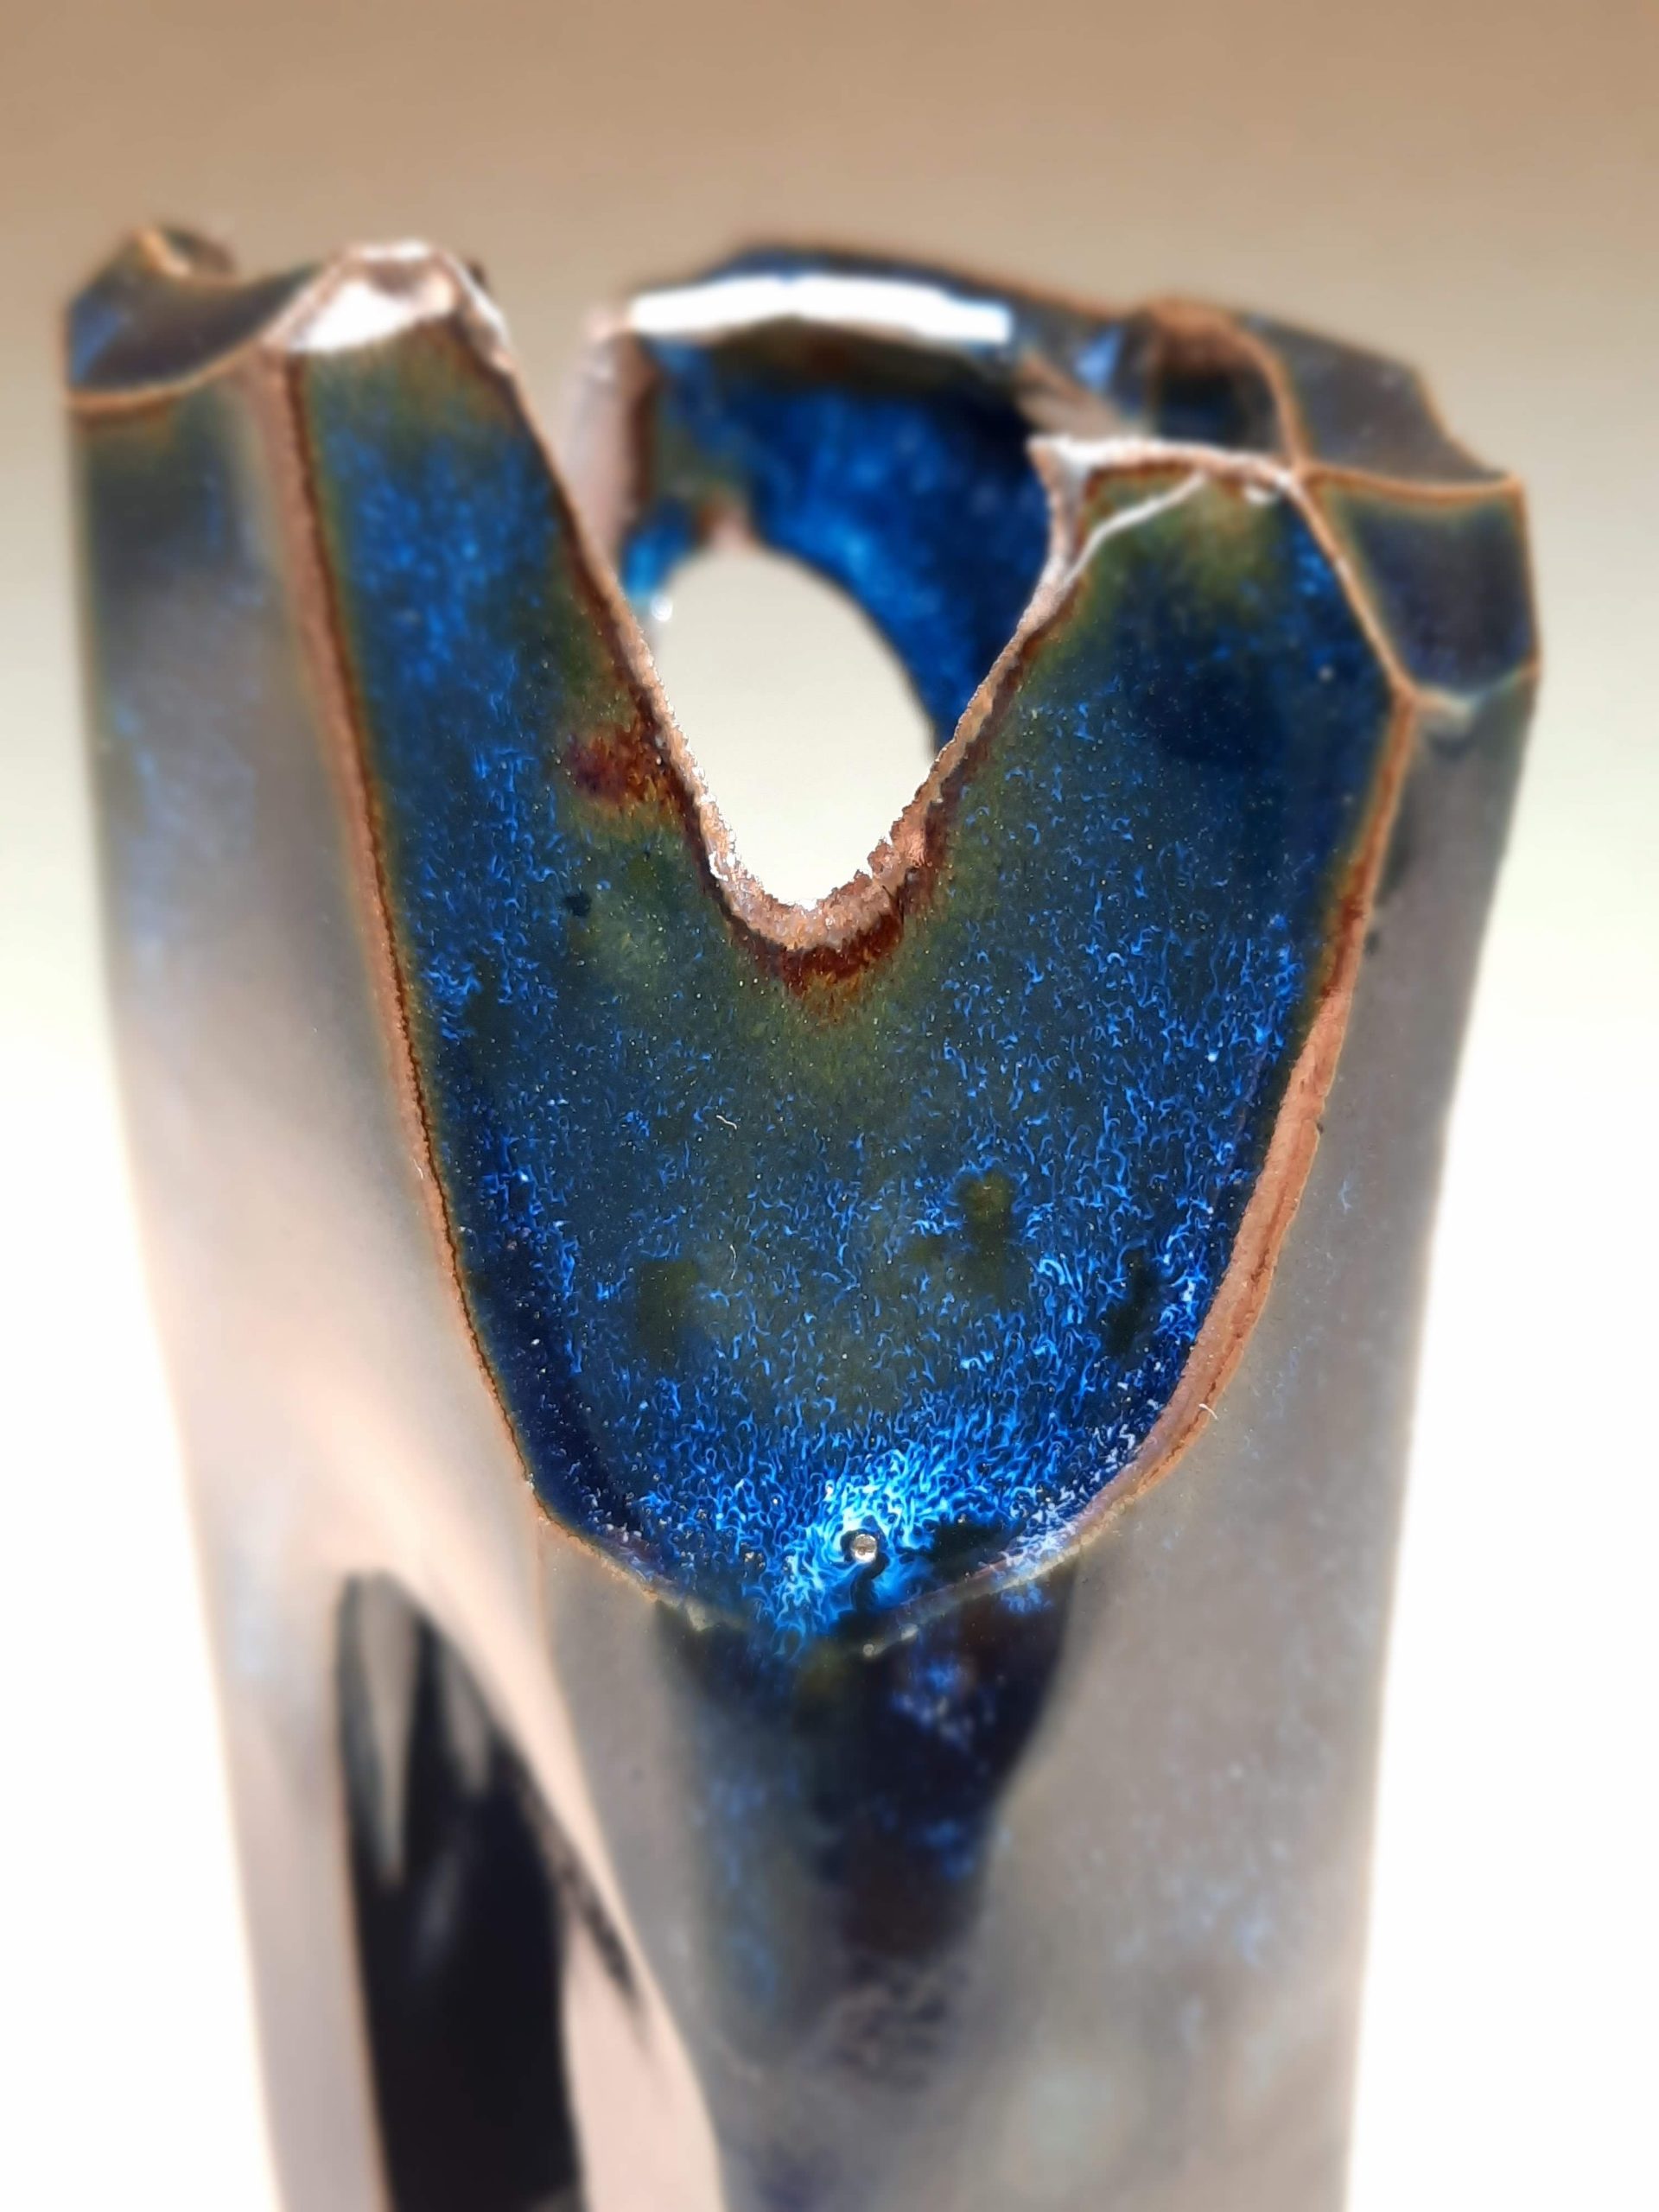
I think it’s important to shoot how you want the viewer to see the photograph. With that said, I don’t crop with post-editing software. I “crop” through my composition in the camera. When doing that, remember that getting close to your subject –filling the frame- may be a great way to add more interest and focus to the overall image. However, consider your subject matter because cropping too closely may not give the viewer a good idea of the product (though the detail may look great!)

Conclusion
Of course, there is a lot that goes into making a great photograph –and good exposure should play a key role in the process. Don’t understand how to manually work the settings on your camera? Take an online classes! You can also take a look at another one of my posts about
